Trees and Shrubs in Front of Windows: How To Keep And Maintain Your Windows

Whenever planting bushes and shrubs straight in front of a window, you should pick the plant variety which will best fulfill your objectives. A few people would rather plant short bushes in the front of their windows to provide entrance charm with no need of covering the window while some search for additional security and privacy. Leafy plants would be best for offering privacy screening and making sure you see leaves instead of bare branches from the view in the window. Thorny bushes offer an additional layer of security, whilst evergreens and shrubs having little leaves make shade without obstructing all the light. Selecting a shrub which will grow in front of a window needs window maintenance and you need to take all these factors into account and also a plant’s care requirements.
- Dig a hole in which you will grow the shrub, creating the hole two times as big as the shrub’s root ball. The side of the hole must be a minimum of 12 inches from your home’s foundation to prevent making a convenient way for harmful termites to get in the foundation.
- Put the shrub on the hole to check its depth. The top part of the root ball must be level with or a bit above the land. In case the the top of root ball rests roots sit above this, you’ll need to create the hole deeper. In case it sits very low, place some dirt back to the hole.
- Check out the shrub’s root ball and trim the roots which wrap around the ball. Additionally get rid of any tags, wires or ropes which were place on the shrub by the nursery. In case the root ball is covered with burlap, lightly take it off from the sides of the root ball, however leave it dangling in the bottom.
- Put the shrub to the hole and back-fill it using the soil you dispatched to create the hole. In case the soil is rocky or has some other debris, like nails or other building materials, fill up the hole using topsoil instead.
- Water the shrub. Water the shrub sufficiently to soak the soil however not sufficient which make water puddle in the soil surrounding the plant. Extreme watering could make water leak into your home’s foundation.
- Mulch across the shrub if needed. In case you mulch, maintain the side of the mulch no less than 12 inches from the house to help stop termites.
Planting Around Windows
Framing your windows with plants provides you with a clear view from the window. Utilizing evergreen dwarf or low-growing plants could keep views clear and great looking, while sustaining the security measure of your home.
Just like any landscape planning, know about the mature size the plants could reach and pick ones which aren’t going to get very tall or spread so much for your window area. Utilize plants having a moderate mature height and small growth habits; it will provide you with an unobstructed view outdoors.

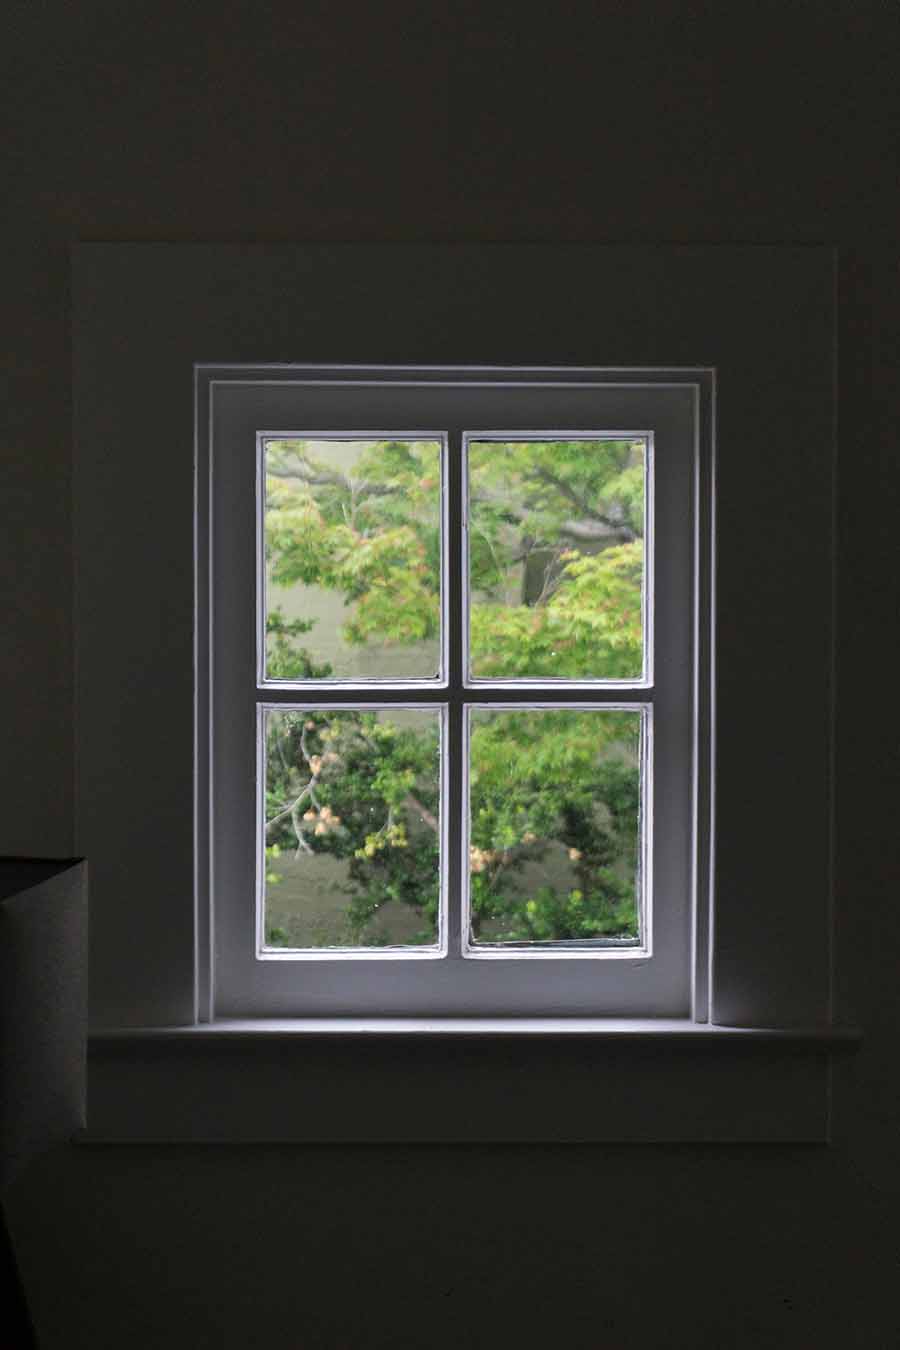
Choose evergreen and long-flowering plants to make sure that the view from your window is always bright colored and aesthetically appealing.
Choose plants which have a nice growth habit and grow them sufficiently far away from your house that you still got room to walk in between your home and the plants. It is to make sure entry to the house and windows to clean and hang storm shutters. Growing your shrubs away from eave line also helps to ensure that they could get rain water.
Think about safety. Avoid plants which have stiff or thorny leaves or stalks, in the event you ever have to exit using the window for an emergency. Conversely, a few people select spiky plants at under a window to prevent burglars or to keep teenagers from sneaking out. Talking about burglars, make sure that your plants won’t form a thick screen that a person can hide behind.

In case you’re seeking plants to intentionally screen your window, both equally for privacy or to obstruct a view, pick ones having loose foliage and adaptable branches. It will help you still see beyond the plants and outside your window, while offering window maintenance and privacy from anybody who may be passing from your house.